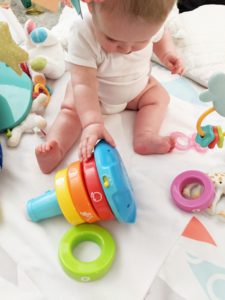
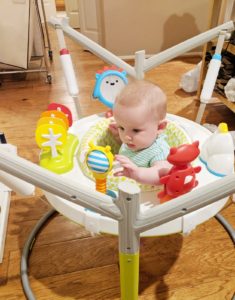
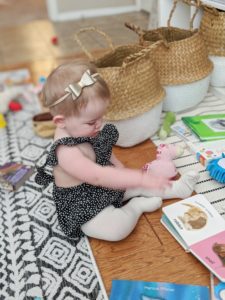
This post is all about how to use the Ikea Kallax to store and organize your kids’ toys in a small living room.

Where is The Best Place To Keep Kids’ Toys?
I think the most obvious place to keep kids’ toys is in their room. I guess that’s what I always imagined I would do before becoming a mother.
But once I had a baby and she wanted to play all the time, I realized that the best place to keep toys is in the living room.
Most kids, younger kids especially, want to be where the action is.

And you totally could play in their room. But if you want to get anything done at all throughout the day then the toys are best in the living room.
This way they can play and see you at the same time.
If mommy is cooking dinner in the kitchen, they want to be nearby. They want to be able to see you which probably gives them a sense of security.

They want to be able to tell you and show you things too. Like the tower they built or the book they’re reading.
The only thing is- where the heck in your living room are you going to put everything? Especially if you have a smaller living room like we do.
I like having a bunch of baby things because then all of your needs are met and your kids can be happy and entertained, but I don’t it to be piling up everywhere!
Bins and Baskets
Bins and baskets are your best friend.

Kids’ toys have so many parts and pieces, it’s hard to keep things looking neat and tidy.
Having bins and baskets hides the mess while keeping the toy parts together so that they stay organized.
As a kid when my mom told me to clean my room, I just shoved everything into the closet. Turns out that’s actually a pretty good life skill that I use to this day.
Just kidding… kind of.
Now I just throw things in bins and baskets.

In my defense, those bins and baskets are specifically designated for different things.
And that my friends, is what we call ~organizing~.
Toy Rotation
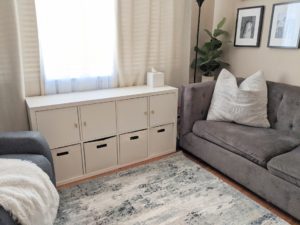
The shelf that we have has 8 little cubbies


The top 4 cubbies are books.
And the bottom 4 cubbies are toys.
In the bottom cubbies we have one toy per bin, so that’s 4 toys total at any given time.
You can totally have more than one toy in each basket but I found that to be too hectic.
For the toy rotation, you pick one toy per cubby, toys that your child is interested in at the moment, and store the rest of the toys away in a closet.
For example, ours are; trains, MangaTiles, puzzles, and etch-a-sketches.
These bins are super inexpensive and make organizing so easy!
Choose, Use, Put Away
Implement rules that will help you have a shorter clean-up at the end of the night and will help reduce mess throughout the day.
If your child is playing with a toy and they want to play with something else, they have to put the first toy away first before anything else can come out.

This keeps everything organized and prevents the mess from becoming overwhelming.
Obviously, you don’t have to be crazy strict, it can just be a general rule to follow.
For example, if you have a train set in one bin and play people in a different bin and your child wants people to be riding the train, then you can let them use both at the same time as long as they pick it all up afterward.
Ikea Kallax
There are many different types of cubbies out there now to buy.
You can get them basically anywhere like Target, Amazon, or really any place that sells furniture or storage.
The reason I like the Ikea Kallax version best is because
- It’s inexpensive
- The cubbies are large (13 inch cube vs a 11 inch cube)
- It’s very sturdy
- It’s compatible with Ikea “add ons”
We originally just had the Kallax by itself, without any doors. But I didn’t like that you could see everything on the shelves because when everything was put away, it still looked messy.
That’s why I decided to get the doors that are available to attach to the Kallax!
Install The Doors and Change Out The Hardware
Materials you will need:
-Ikea Kallax
-Ikea Kallax Door Inserts
-Screwdriver to attach the doors
-Hardware of choice, I used these gold knobs from Lowes
-Linen bins (13″ x 13″)
The doors were fairly simple to install, but it probably took me a good hour. Then just switch out the knobs and you’re good to go!
Let me know if you try this organization hack, I would love to see pictures!

